Emergency roof repair in Ontario: what to do first
By Marcus Ramos · Updated 2026-07-27
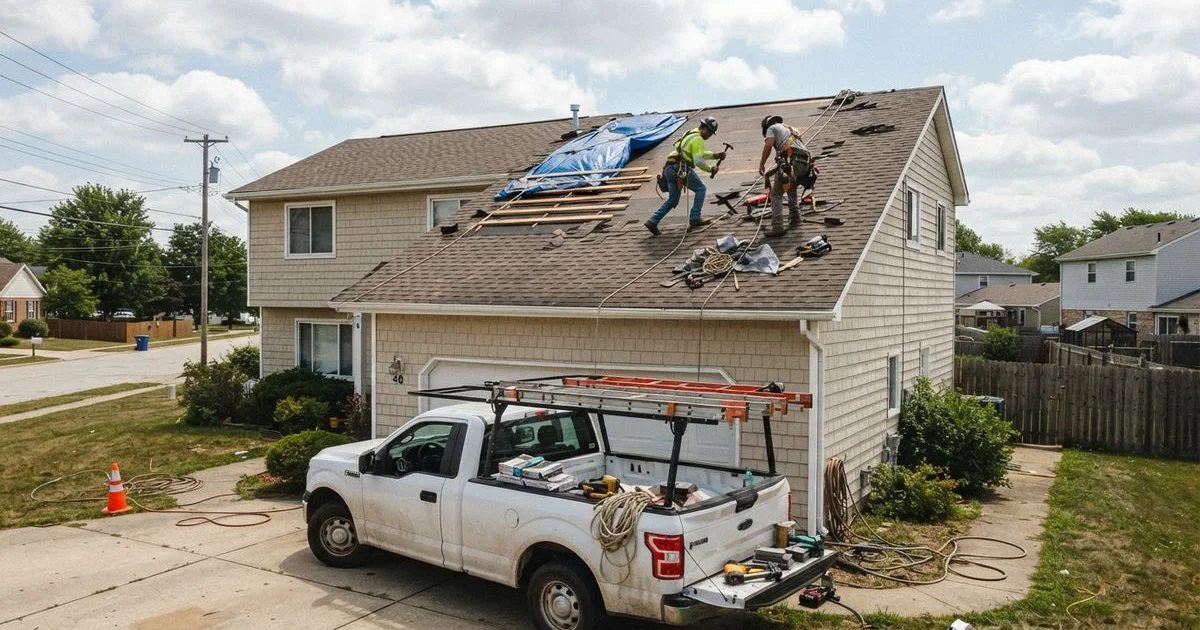
A roof emergency rarely gives warning. A branch comes down in a windstorm, a section of shingles peels off overnight, or a ceiling stain suddenly turns into an active drip. What you do in the first hour matters almost as much as who you call.
Step one: protect the inside of your home
Move furniture, electronics, and anything valuable away from the leak. Place a bucket or container under an active drip, and if water is pooling on a ceiling and starting to bulge, a small controlled hole with a screwdriver can relieve pressure and prevent a larger, uncontrolled collapse. This sounds counterintuitive, but a small hole in a known spot is easier to repair than a ceiling that gives way on its own.
Step two: assess safety before doing anything outside
Do not go on the roof, especially in rain, high wind, snow, or ice, or in the dark. Most roof emergencies do not require you to inspect the roof itself; they require you to manage water intrusion from inside and call a professional. If you can safely see visible damage from the ground, such as missing shingles, a sagging section, or a tree limb resting on the roofline, take photos for your records and for an eventual insurance claim, but stay off a wet or damaged surface.
Step three: call for emergency service
Look for a contractor who explicitly offers after-hours or 24/7 emergency response rather than assuming a general roofing company can mobilize immediately. During major storms, expect wait times, since demand spikes across an entire region at once. When you call, describe the damage clearly (leak location, visible holes, storm involvement) so the contractor can prioritize triage correctly and bring the right materials.
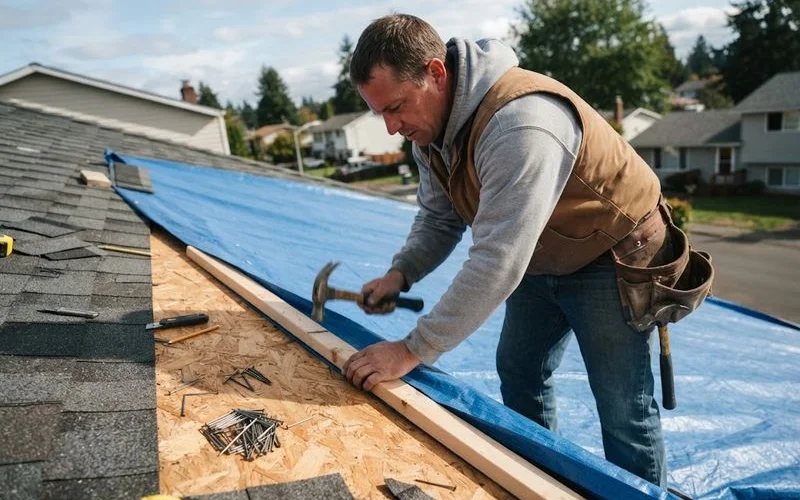
What an emergency visit typically involves
A first emergency visit is usually about stopping water intrusion, not completing a full repair. That often means tarping the damaged area, sealing an active leak point temporarily, or removing a hazard like a loose section of flashing. A full repair or replacement, if needed, gets scheduled separately once conditions are safe and materials can be sourced properly.
Documenting for insurance
| What to capture | Why it matters |
|---|---|
| Photos of exterior damage before any tarping | Shows the original extent of damage |
| Photos of interior water damage | Supports a claim for ceiling, flooring, or belongings |
| Date and time of the damage or discovery | Insurers often ask for a timeline |
| Receipts for temporary repairs (tarping, buckets) | Many policies reimburse reasonable emergency costs |
| Written estimate for permanent repair | Needed to finalize a claim |
If you suspect the damage was caused by a sudden event like a windstorm or hail, or a fallen tree, contact your insurer early in the process. This is general information rather than insurance advice; your specific policy determines what is covered and what documentation your insurer requires.
After the immediate crisis
Once the leak is stopped and the property is safe, book a full inspection rather than assuming the temporary fix solved the underlying problem. A tarp or emergency patch is not designed to last through a full season, and it is meant to buy time until conditions allow for a proper repair, not to replace one.
Choosing an emergency contractor under pressure
It is tempting to hire whoever answers the phone first during a crisis, but a few quick checks still matter even in an emergency. Ask whether the company is insured and can provide proof if asked, get a rough price range for the emergency visit before they arrive so there are no surprises, and confirm whether the emergency call-out fee is credited toward a full repair if you hire them for that later. A legitimate emergency service should be able to answer all of this over the phone without hesitation.
Preventing the next emergency
Once the immediate situation is resolved, it is worth asking the contractor what likely caused the failure, whether that is roof age, a specific storm event, or a maintenance gap like clogged gutters or damaged flashing. Understanding the cause helps you decide whether a similar issue is likely to recur elsewhere on the roof, and whether a broader inspection makes sense rather than treating the emergency as an isolated incident. If the trouble spot is a flat or commercial section, our guide on signs your flat roof needs repair before it fails covers the warning signs worth watching for.
You can find contractors offering rapid response in our 24/7 emergency roofing category, ranked using the criteria in our ranking method. For a broader view of Ontario roofing contractors once things have calmed down, visit the Ontario Roofing Directory homepage.
Frequently asked questions
- Should I go up on the roof myself during an emergency?
- No, especially in wet, icy, or windy conditions. Most emergency roof damage can be managed from inside the home until a professional arrives; a fall risk is a worse outcome than a temporary leak.
- How fast can an emergency roofer usually respond?
- Response times vary by contractor and how widespread the storm damage is across the area. Ask directly about current response time when you call rather than assuming a standard window, since a major storm can mean every crew in the region is booked.
- Will my home insurance cover emergency roof repair?
- Often, for sudden and accidental damage like a storm or fallen tree, though coverage details vary by policy. Photograph the damage before any temporary fix and keep receipts, since insurers typically ask for both when you file a claim.
- What counts as a temporary fix versus a real repair?
- A tarp, plywood over a hole, or emergency sealant is meant to stop water intrusion for days, not months. Treat it as a stopgap and book a proper repair or inspection as soon as it is safe to do so.